[Spoiler alert!]
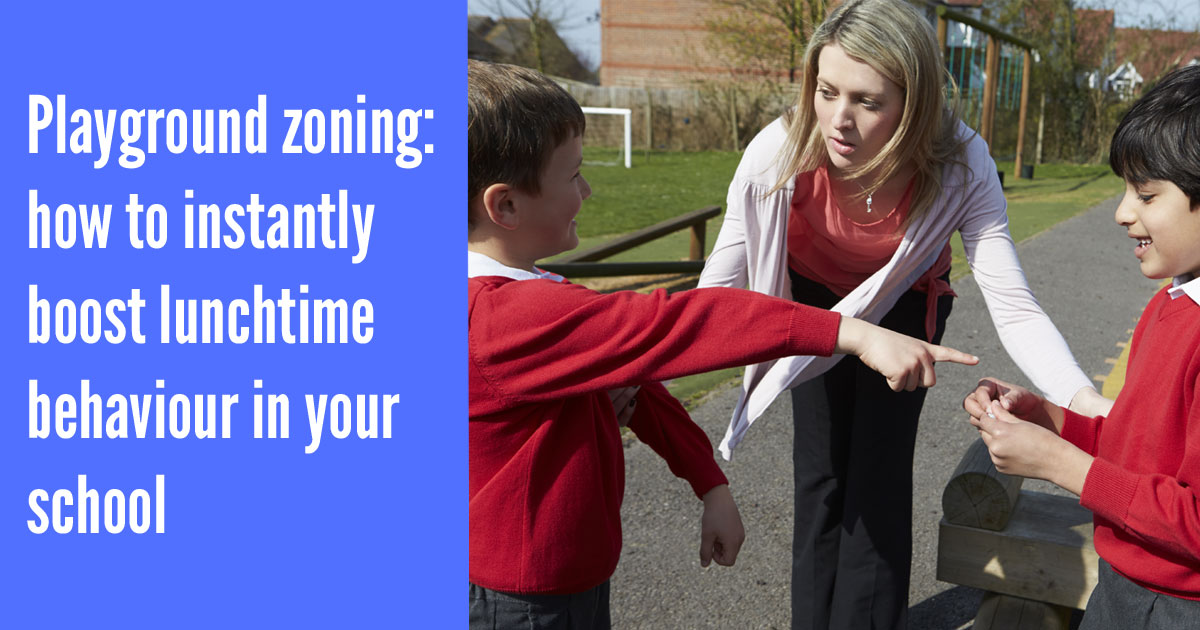
Most behaviour incidents in school occur at lunchtime.
After an hour left occupying themselves, students grow bored. And before long, they’re entangled in social disputes, which spill over into the classroom and eat into valuable lesson time.
Instead of launching into your teaching, you find yourself disentangling who-said-what-to-whom.
Not the most productive start to the afternoon…
But what if there was an quick fix that could cut out many of these problems?
There is: it’s called zoning and it’s an easy win.
Here’s how and why it works.
Problem #1: boredom
For whatever reason, children are finding it harder and harder to occupy themselves.
Imaginative and cooperative play is in decline. Our collective memory of how to join in with traditional playground games is waning.
And there’s another factor.
As educators, we’re under pressure to fill every classrom minute with ‘progress’. So we feed our pupils a constant stream of tasks and activities. No moment is left unfilled.
This has an unintended consequence: it’s produced a group of students used to being spoon-fed. Without an adult telling them what to do, they’re simply lost.
They just mill aimlessly around the playground.
And soon after, behaviour incidents start to occur. As the saying goes, “The devil makes work for idle hands.”
If you look out of the window at lunchtime, and see children hanging around in groups, unoccupied, then zoning can help.
Problem #2: football
For many students, football is the default option at lunchtime – to the point of obsession.
Don’t get me wrong… there’s nothing wrong with football.
It’s a game that should teach important cooperative skills and gives our pupils a chance to exercise. It should, however, be a single part of a varied diet of activities.
Unchecked, football also presents the following problems in many playgrounds:
- it spreads across the playground, dominating the space and restricting choice for other children
- playing requires a significant time investment (sparking arguments when one team loses)
If you look out of the window at lunchtime, and see football dominating the playground, zoning can help.
Zoning – how it works
Playgrounds can be large, unbroken spaces. An concrete area in which to kill an hour before lessons resume.
Zoning works by breaking up that space into a number of defined areas (or zones). Instead of getting lost in one vast, empty space, pupils visit a range of smaller breakout areas instead.
A single activity is available in each area for the children to play with. This doesn’t have to be an adult-led activity – for instance, it could be the equipment needed to play SwingBall, or a quiet area with a book box, or a basketball area.
So instead of a one or two options for play, zoning provides a buffet of activities for the children to choose from.
During lunch, the student moves from area to area. When they get bored in one zone, there’s always another offering a different experience.
And this has a positive side effect: by travelling from zone to zone, your student breaks their long lunch hour into smaller segments.
This limits their opportunities to grow bored and makes the lunch hour appear to go faster.
Zoning not only breaks up the space – it breaks up the time.
How to zone your playground
The good news is that schools can implement zoning quickly – and the impact on student behaviour is almost immediate.
The key is to provide the right mixture of activities, catering for a range of interests. If every zone offers a ball game, this will only be of interest to students interested in ball games.
Start by drawing up a map of your school playground.
Now, on that map, divide the playground into one or two larger areas or rectangles. Reserve these for traditional ball games (such as football) that need a lot of space.
Next, subdivide the remaining areas into smaller zones. Use these for smaller, quieter activities that involve fewer children.
On your map, write the name of an activity in each zone. (If you’re stuck for ideas, check out our Problem-free Playtimes resource. It’s full of ideas for playground games and activities that real schools have already used successfully.)
As you divide out your playground, remember to consider the flow of students in and out of the building, and work around those.
Zones work best where students have a visual indicator of where areas start and finish. So take advantage of boundaries that already exist: playground markings, paths, walls, fences and natural boundaries.
Zones for small, quiet games don’t need much of a physical boundary. A set of small cones marking the corners of the area is enough to show students where the zone beings and ends.
Larger, physical games (like football) work best when contained, so place these zones next to fences or walls. You can also constrain them with runs of cones, markers and plastic barriers.
These can involve some initial expense, but work well to constrain the game in one area.
Implementing your plan
You now have your plan in place. The next step is implementation.
This could include:
- ordering any missing resources
- timetabling who puts out/brings in any equipment (and when)
- launching the changes to your students and staff
There is an initial investment in time and effort to introduce zoning, but the results are worth it…
…because when done well, zoning has an immediate, significant and sustained impact on student behaviour.
Next steps
Now you’ve invested time improving behaviour outside at lunchtime, the next logical step is to check your provision in the dining room.
A good dining room experience is essential, so your students start their lunch hour in the right frame of mind – and a couple of simple actions will make this happen.
To guide you through them, we’ve put together a free checklist to help you identify what’s working in your dining room (and where to take things next).
Simply download and complete the checklist – the process is simple, quick and full instructions are included.
Best of all, it’s based on best practice in real primary schools.
Get your checklist from this page… and start making your lunchtime provision brilliant both inside and the outside the building.

- by Simon Currigan